On the Managing Articles page you can sort, view, modify, archive, or delete your existing Newsletter articles; or create your own Custom Article.
Managing Articles
The main section of the page contains a table with a list of available articles. You can sort this list by clicking the blue header at the top of the Title or Date columns. If you would like to view a specific article, just double-click on the title of that article.
Any Custom Articles that your office has made will have a blue Modify button in the column next to the Date. Clicking on this button will open the article in a new window, where it can be edited.
You can minimize the number of articles that appear in the list by archiving older or infrequently used articles. Simply click on the Archive button. Archived articles are hidden by default, but you can view them by clicking on the “Show Archived Articles” check box above the list. Once your archived articles are visible, you can move them out of the archive by clicking on the Unarchive button.
If you have articles you never intend to use, you can remove them completely by clicking on the Delete button. Deleted articles cannot be recovered, so use this option carefully.
You can hide Sesame-provided articles by unchecking the “Show Sesame provided Articles” box.
Article Creation On-Demand Webinar
Create Custom Articles
You can start creating your own article by clicking the Create Custom Article button, either on the Manage Articles page or on the Choose Articles page when building a Newsletter.
At any time, you can return to the Manage Articles page by clicking the "Back to Articles" button.
When the page opens to create your new article, enter the Title in the appropriate field. This is the name of the article that will appear in your article list when you are managing and choosing your articles. Below this you will find the Body of Article field. You can use the buttons in the toolbar at the top of this field to change the font family, size, and color, as well as adding some basic formatting, such as text alignment.
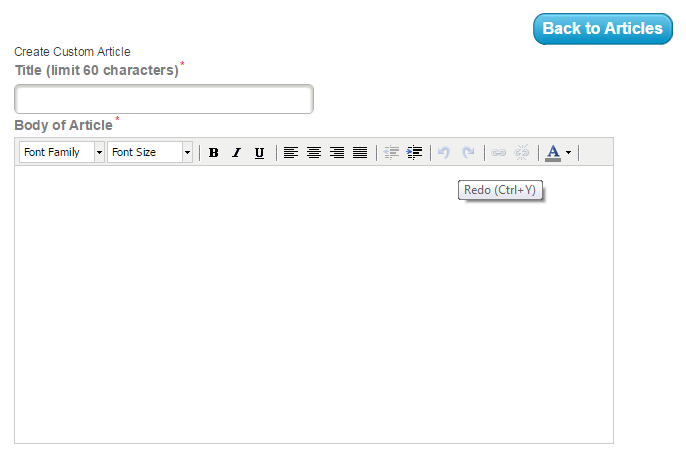
Note that you can not put an image into the body of the article. Images must be attached using the form below, and each article can have only one image.
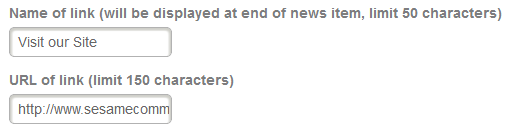
Next, you will see the option to add a link that will appear at the bottom of your article. For example, if you are advertising a movie night for your patients, you can include a link to the theater’s website. The "Name of link" is the text that will appear in your article; the "URL of link" is the website address you would like your patients to visit.
The final step in creating your article is the option to add an image. Click on the Choose File button, then browse your computer for the image you wish to use. The image must be on your computer and must be in JPG, PNG, or GIF format. It must also be under 300kb in size.
Once you have selected your image, click on the Upload Image button. After the image has uploaded, it will appear below the buttons in that field.
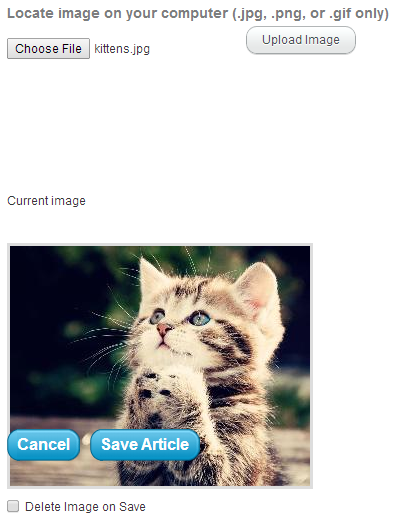
If you uploaded an image, but decide you don’t want to use it, check the "Delete Image on Save" box.
When you are finished with your article, be sure to click on the Save Article button.
 Looking for more information? Check out these Related Pages!
Contact our Member Services team at 866-537-8272, Monday - Friday 6 AM to 4 PM Pacific Time.