After you have logged in to your Surreal account and located the page you wish to edit in the page list of your main administration page, simply click on the name of that page to be taken to the page editor.
Editable Regions
Below the toolbar in the editor, you will see your web page as it currently appears on your website. While the entire page is displayed in the editor, certain portions of the page are not available for DIY editing. In order to determine which sections are editable, simply hover your mouse over the page. If the section over which you are hovering is not available for editing, you will see that your mouse cursor changes to a red circle with a slash through it.

Regions of the page that contain content that can be edited here will have a balloon with a pencil icon, located at the top, left corner of the content box. When you hover over that section, you may see it outlined with a dashed line.
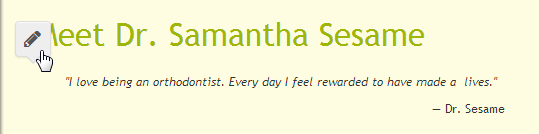
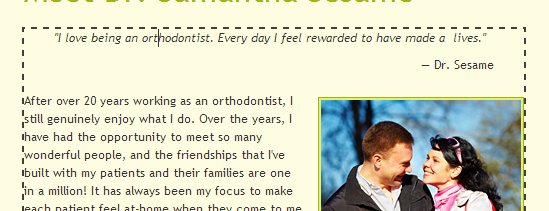
If you click on that balloon, you should see the content area outlined by a darker dashed line. Once this happens, the section is ready for editing. You can click inside the box and start typing to add content.
Editing Content
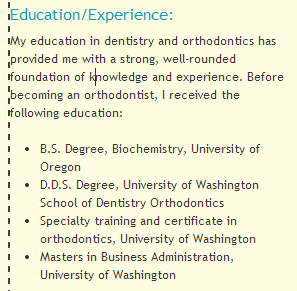
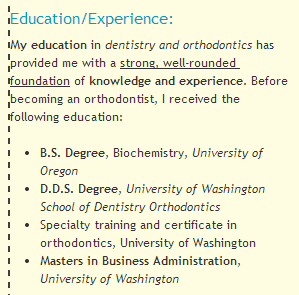
Updating the content of the page is as easy as clicking in the content box and typing. Once the editable region of your page has been selected, and is outlined by the dashed line, it functions just like a standard word processor document. You can select text and add effects, such as bold or italics, using the toolbar above the page.
Check out the Page Editor Toolbar page for more information on using the toolbar!
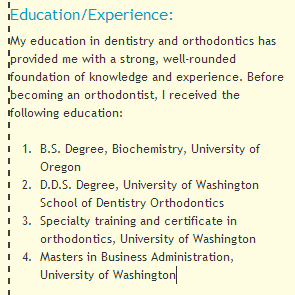
You can also add an ordered list (a list using numbers or letters) or an un-ordered list (a list using bullet points) to your content. If you already have a list, you can change the style using the toolbar.
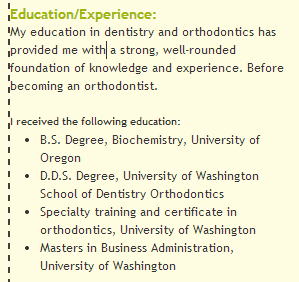
Using the predefined styles available in the toolbar, you can add new page headings that match the existing style, or change the style of the page headings you already have.
Adding Images
Adding images to your web page in Surreal is as easy as clicking a few buttons. The first thing you will want to do is locate the image you would like to add to your page. If the image is on your computer’s hard drive, you may want to take a moment to review the File Manager page, and upload the file to your website. This will make it easier for you to find when you are adding it to the content of your page.
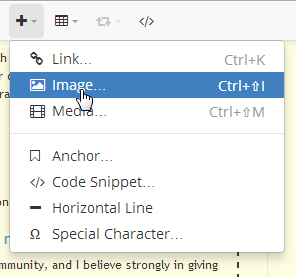
Once you have located your image, the next step is to click in the content box where you want your image to appear, then click on the plus sign (+) icon in the toolbar and select the Image option.
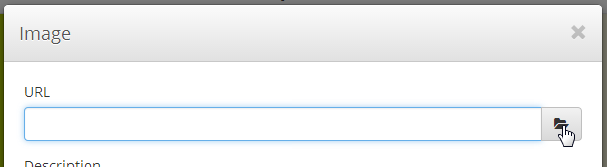
You should next see a new window that requests information about the image you want to add. The field at the top of this window requests the URL for your image. You can click on the folder icon to browse your File Manager for the image you wish to add to your page; or type in the image’s website address.
Be sure you have permission to use the image you are adding! Some images are protected by copyright law, so you have to make sure you clear the use of any images you find online with the owner of that image.
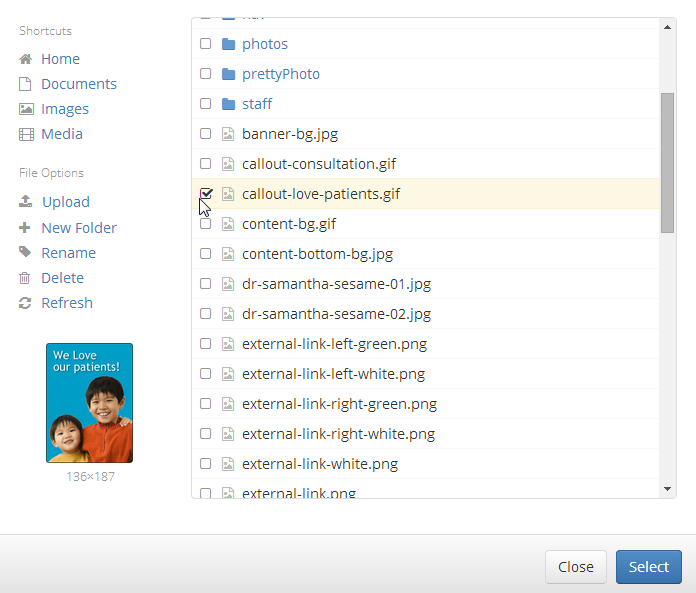
In the File Manager, browse to the image you wish to add to your page, then click the check box next to the image name. Once you have selected the correct image, click on the Select button at the bottom of that window. This will take you back to the previous window with your image information.
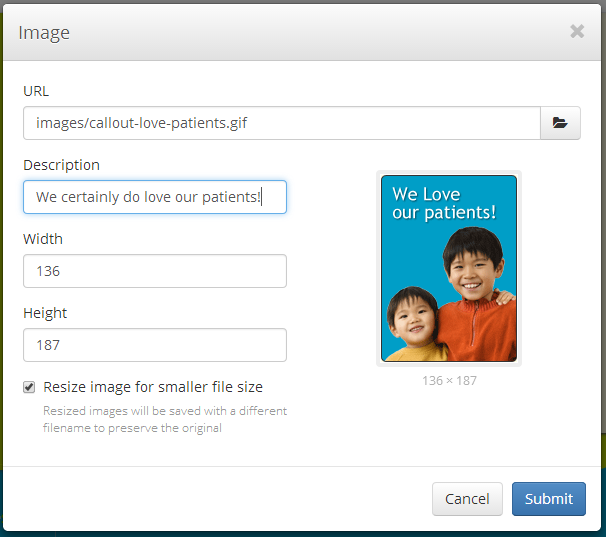
Back in the image information window, you should now see that the URL field has been filled in with the correct website address for your image. You should also see that the Height and Width fields are completed, and there is a preview of your image in the bottom right section of the window. The Description field is where you can add an optional description of the image. This description is used in browsers that cannot display images, and by programs that read web pages for people with disabilities. When you are ready, click the Submit button to add the image to your web page.
Formatting Your Images
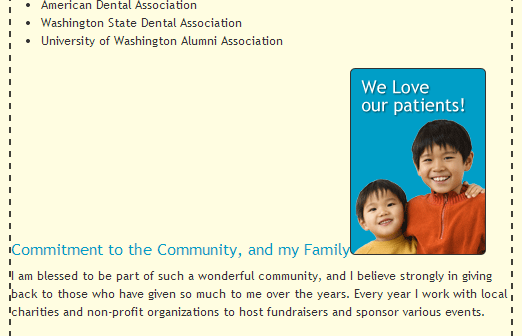
Now that you have added your image, you may notice that it does not conform to the same format as the other images on your page. This is probably because the other images have a specific Class applied to them.
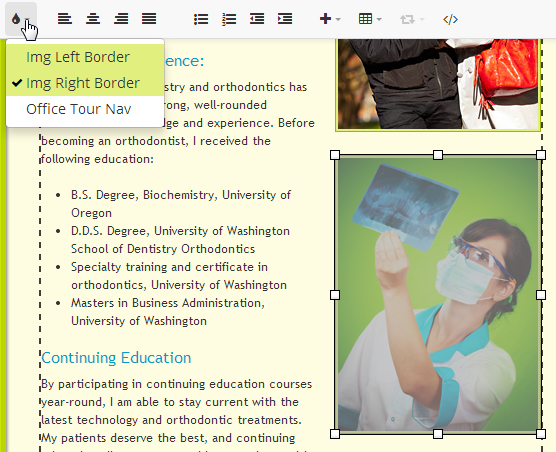
In order to match your new image with the images already on the page, you will need to locate one of the existing images, and click on that image to select it for editing. With that image highlighted, click on the teardrop-shaped icon in your toolbar to view the Classes that have been predefined for your website. In this list, you should see a check mark next to one Class; this is the Class that is applied to that image.
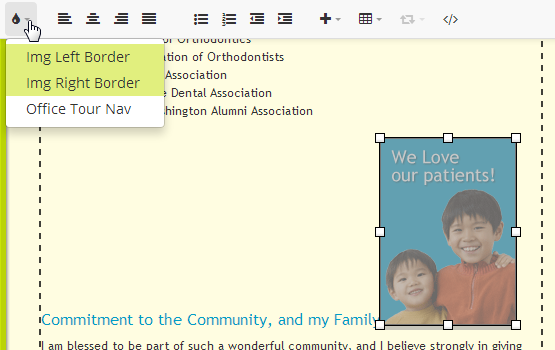
Next you will need to apply this Class to the image you have just added. To do so, click on that image to select it for editing. When you click on the teardrop-shaped icon in the toolbar, you should notice there are no check marks next to any of the Classes in the list.
From that list, select the same Class that you noted was applied to the other image on your page. You should see that your new image has immediately been reformatted to match your other images.
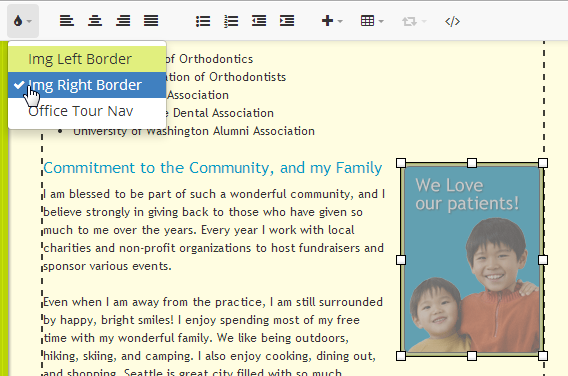
Now your image is formatted to match your existing images, and should fit seamlessly with your existing content.

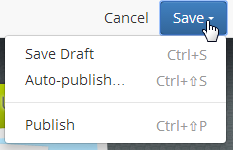
When you are finished updating the content of the page, don’t forget to save your changes. Using the Save button in the toolbar, you can choose either to Publish your page, which will make it immediately available on your website; Auto-Publish your page, and schedule to have it published automatically at a later date; or use the Save Draft option if you want to save your changes without publishing them.
User accounts in Surreal can have different permissions, and access to different features. If you are logged in to your Surreal account and don’t see all the options described here, please give our Member Services team a call.
 Looking for more information? Check out these Related Pages!
Contact our Member Services team at 866-537-8272, Monday - Friday 6 AM to 4 PM Pacific Time.